In this article:
The Workflow Designer Properties
Navigation
Navigating the Workflow Designer is very easy and can be broken down into 6 key areas
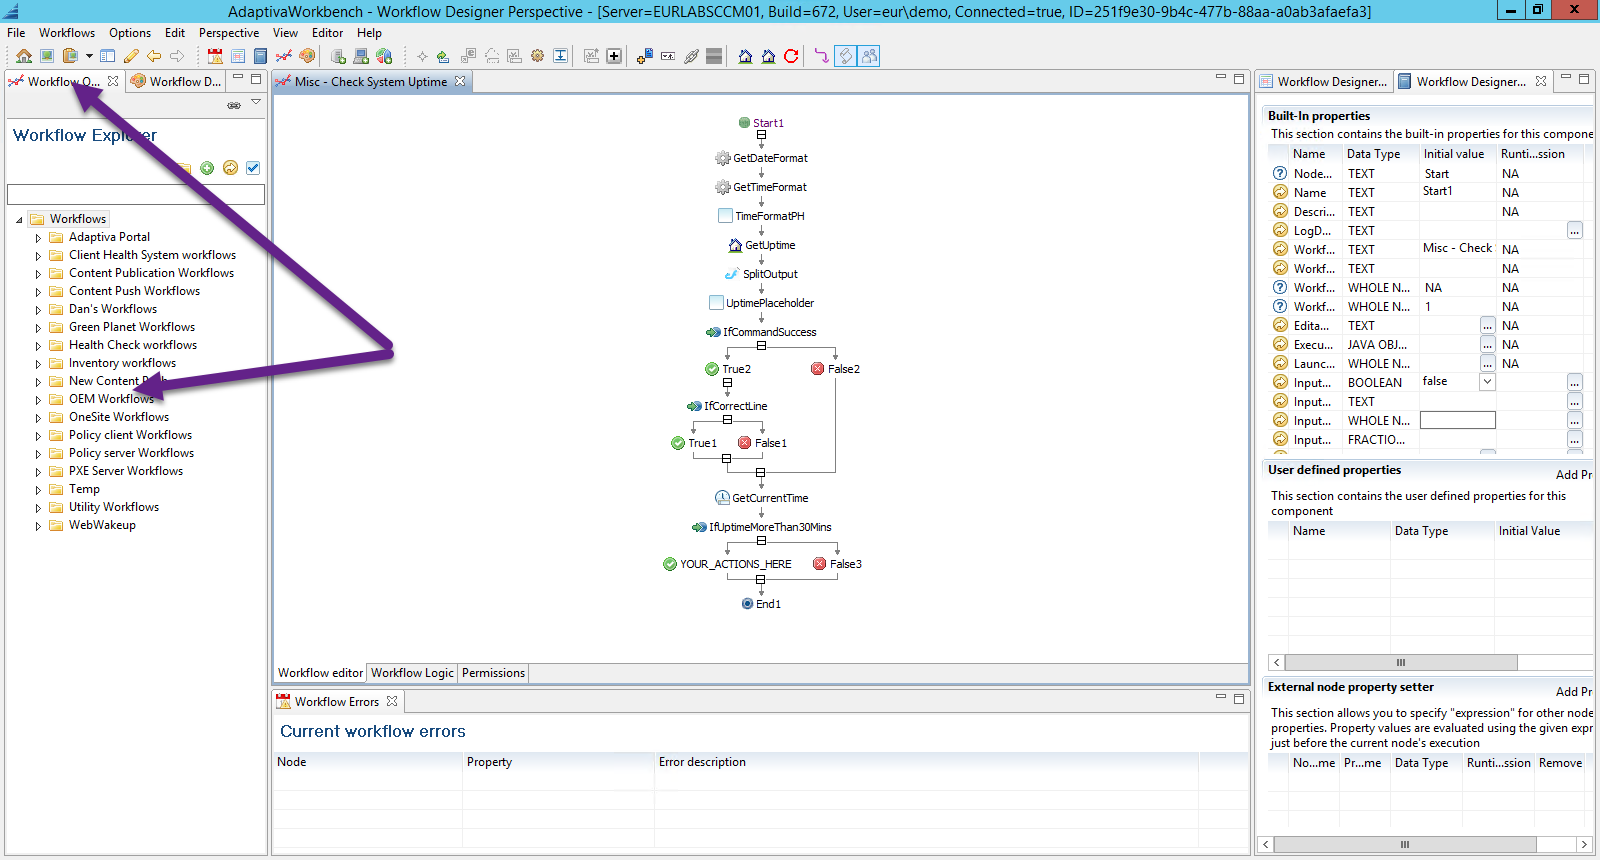
1. The Workflow Object Explorer
The workflow Object Explorer is used for browsing the current list of workflows, creating new workflows, copying workflows, exporting workflows, deploying workflows, and launching workflows. The workflows are organised using folders and operations are controlled using the right-click menu or the respective toolbar icons.
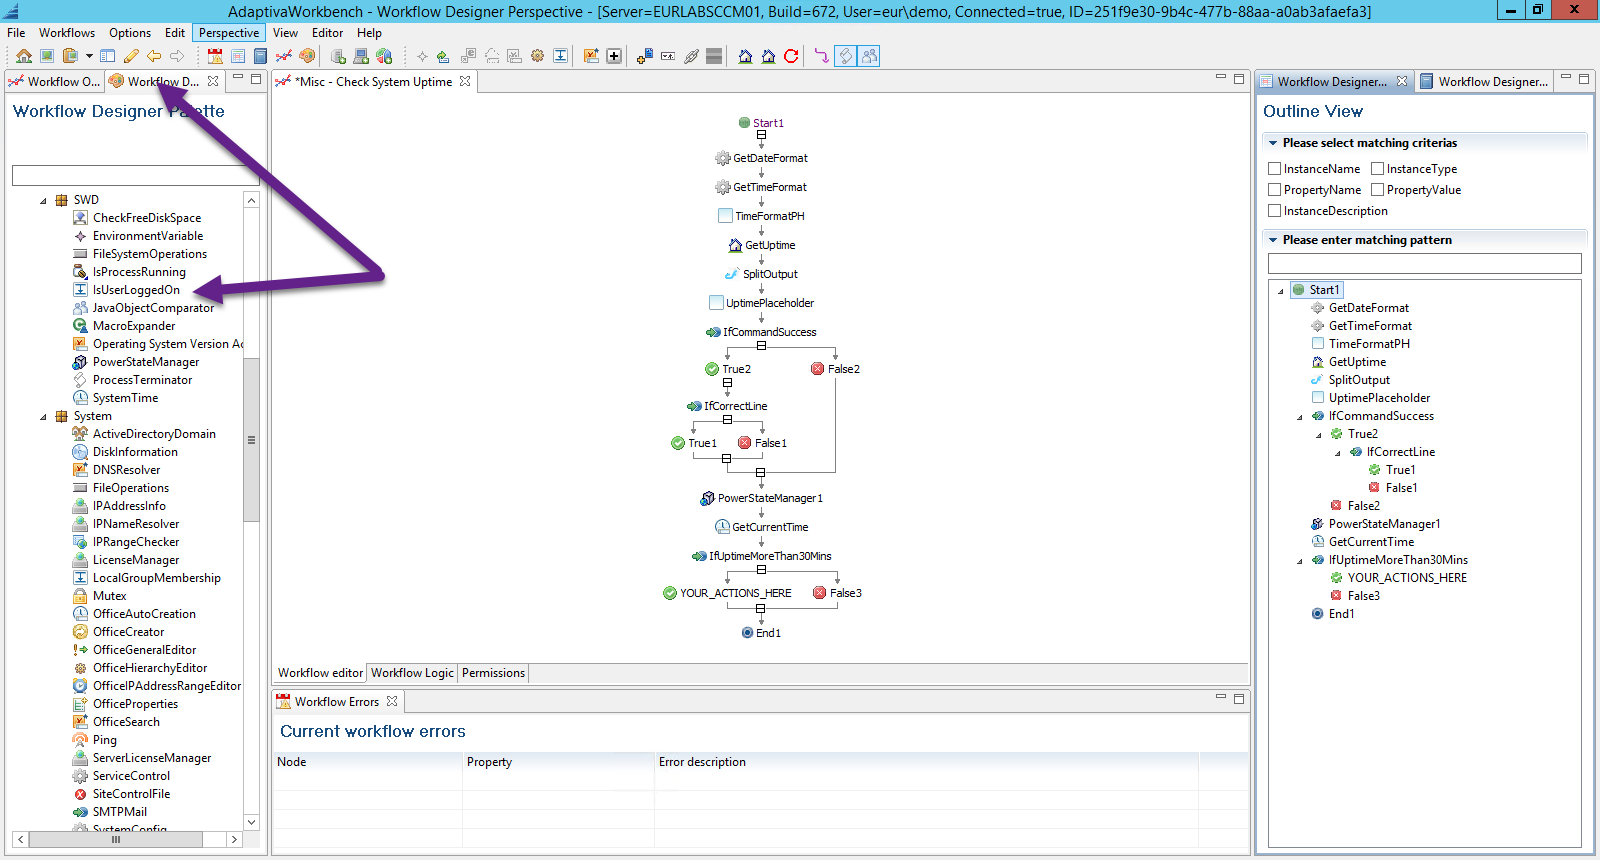
2. The Workflow Designer Palette
The workflow designer palette contains all of the available activities that can be dragged onto the canvas. Each activity is organised by category and can be searched using the text box towards the top of the section. To create a custom activity, any category folder can be right-clicked and then from the context menu it is possible to select New > Custom Activity (batch), Java invocation activity, Procedure activity, VB (VBScript) Activity or PowerShell Activity.
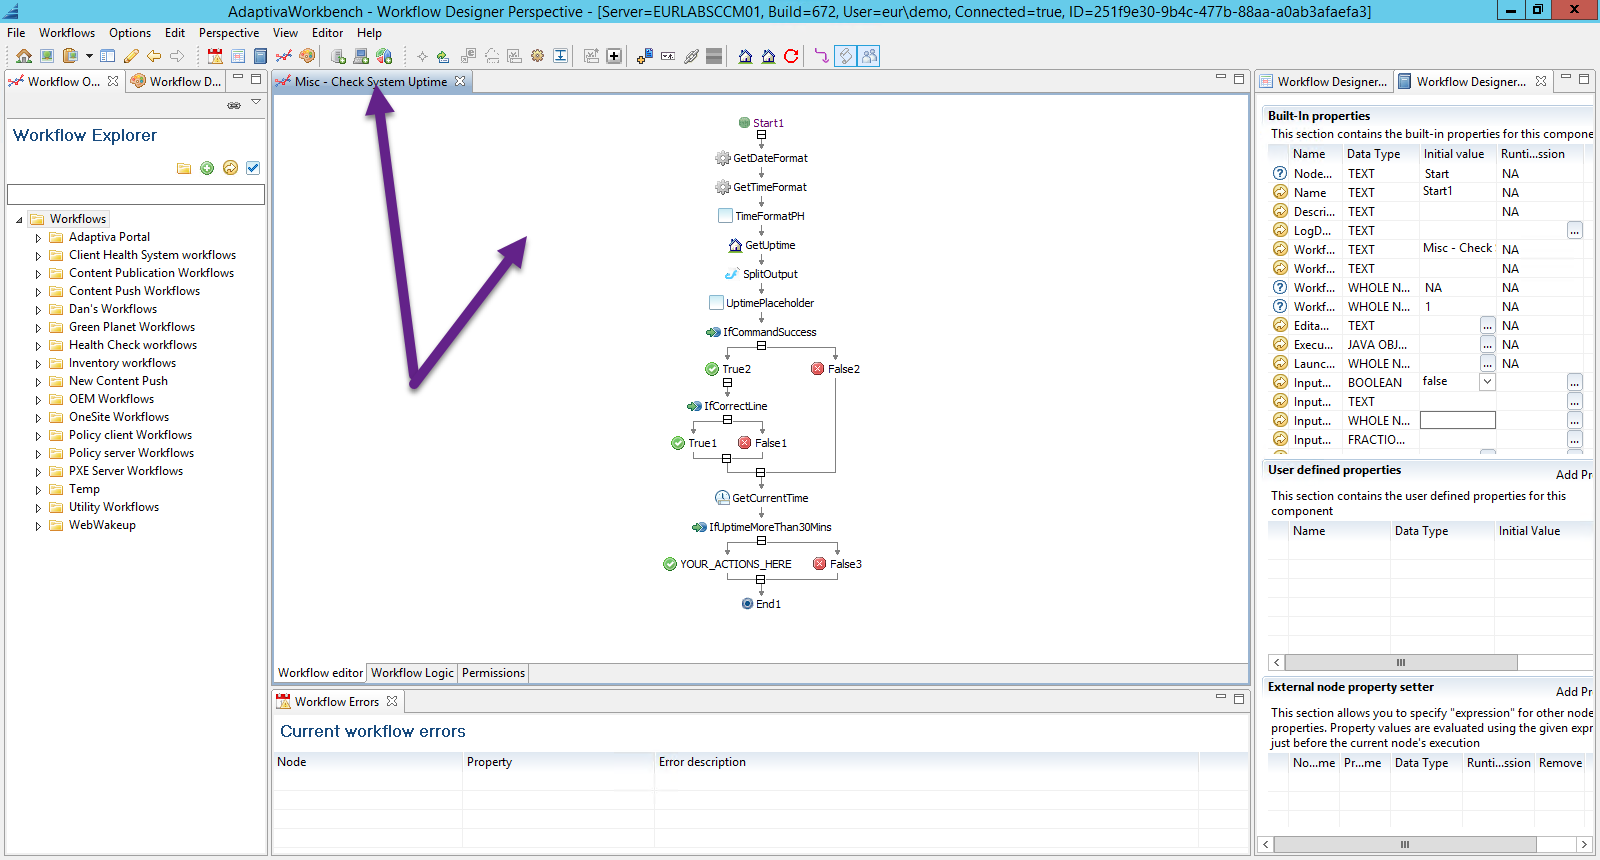
3. The Workflow Editor (Canvas)
The canvas is where the actual design happens. When creating a new workflow, a new canvas is created and two activities are automatically added, a Start1 node and an End1 node. All activities must be placed between these two nodes. Activities are dragged from the workflow designer palette and can be dropped anywhere between the nodes. Placement needs to be exact and the mouse cursor icon will change to a + sign when the activity can be placed. Certain activities (such as a break-while) can only be placed within certain other activities (in the case of the example, within a While activity).
Additionally, at the bottom of the canvas there are three tabs - Workflow editor, Workflow Logic and Permissions. The workflow editor is the main canvas, the Workflow logic tab brings up a large text field where the Administrator can enter description text about the functionality and logic behind the workflow and the Permissions tab shows the resultant properties and can be used to retrieve the workflow ID once saved.
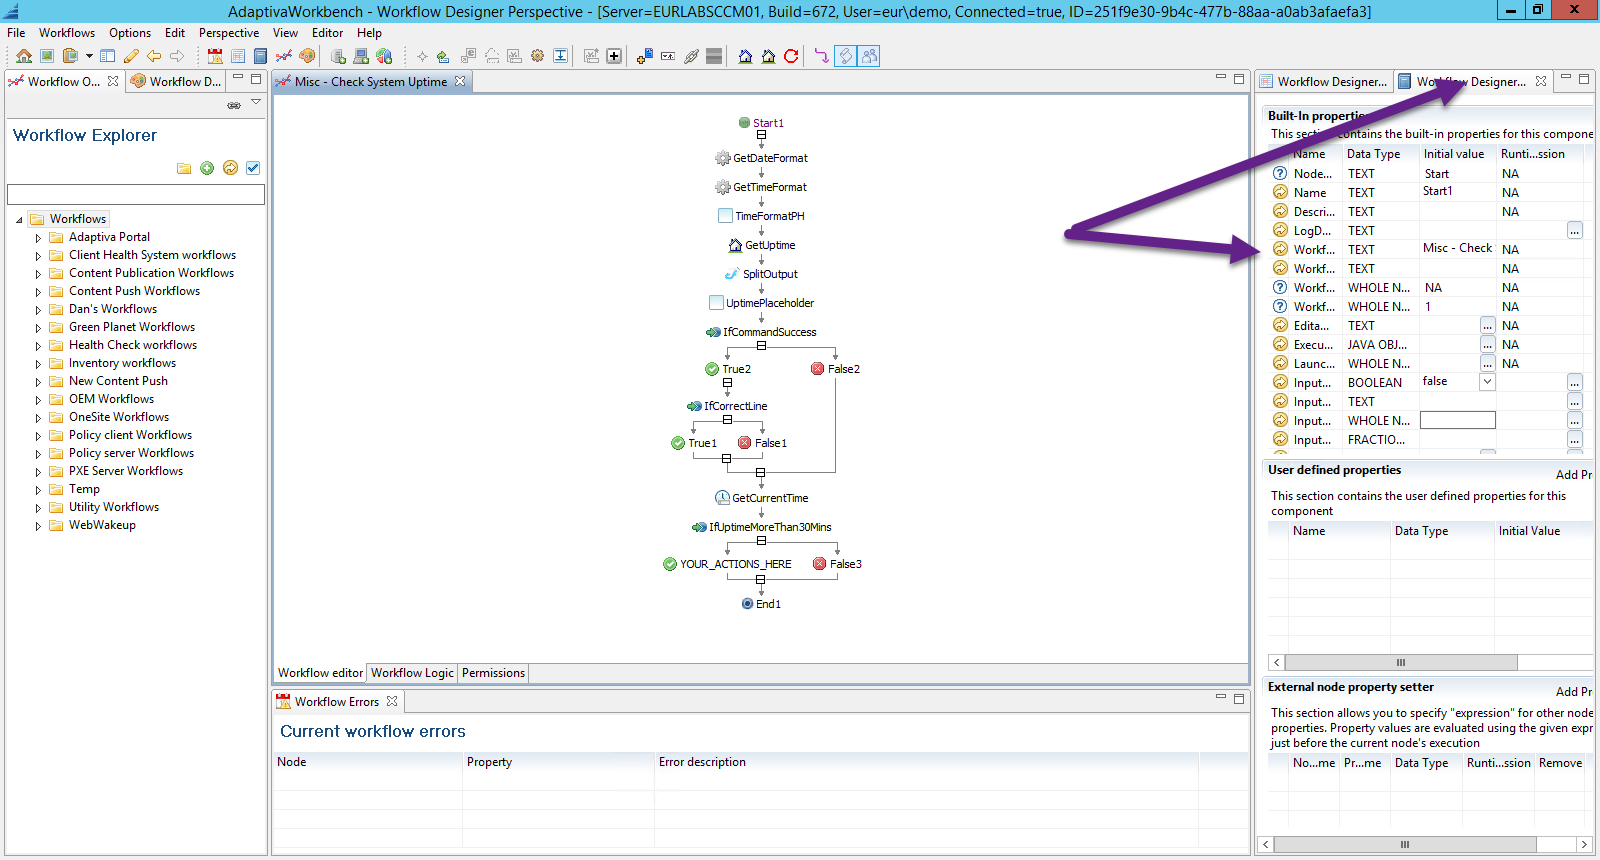
4. The Workflow Designer Properties
The workflow designer properties section is where the input and output properties are defined. Icons with a yellow circle are input properties and can have initial values set, or runtime expressions defined and icons with a white circle with a question mark inside are output properties and can be used by subsequent activities.
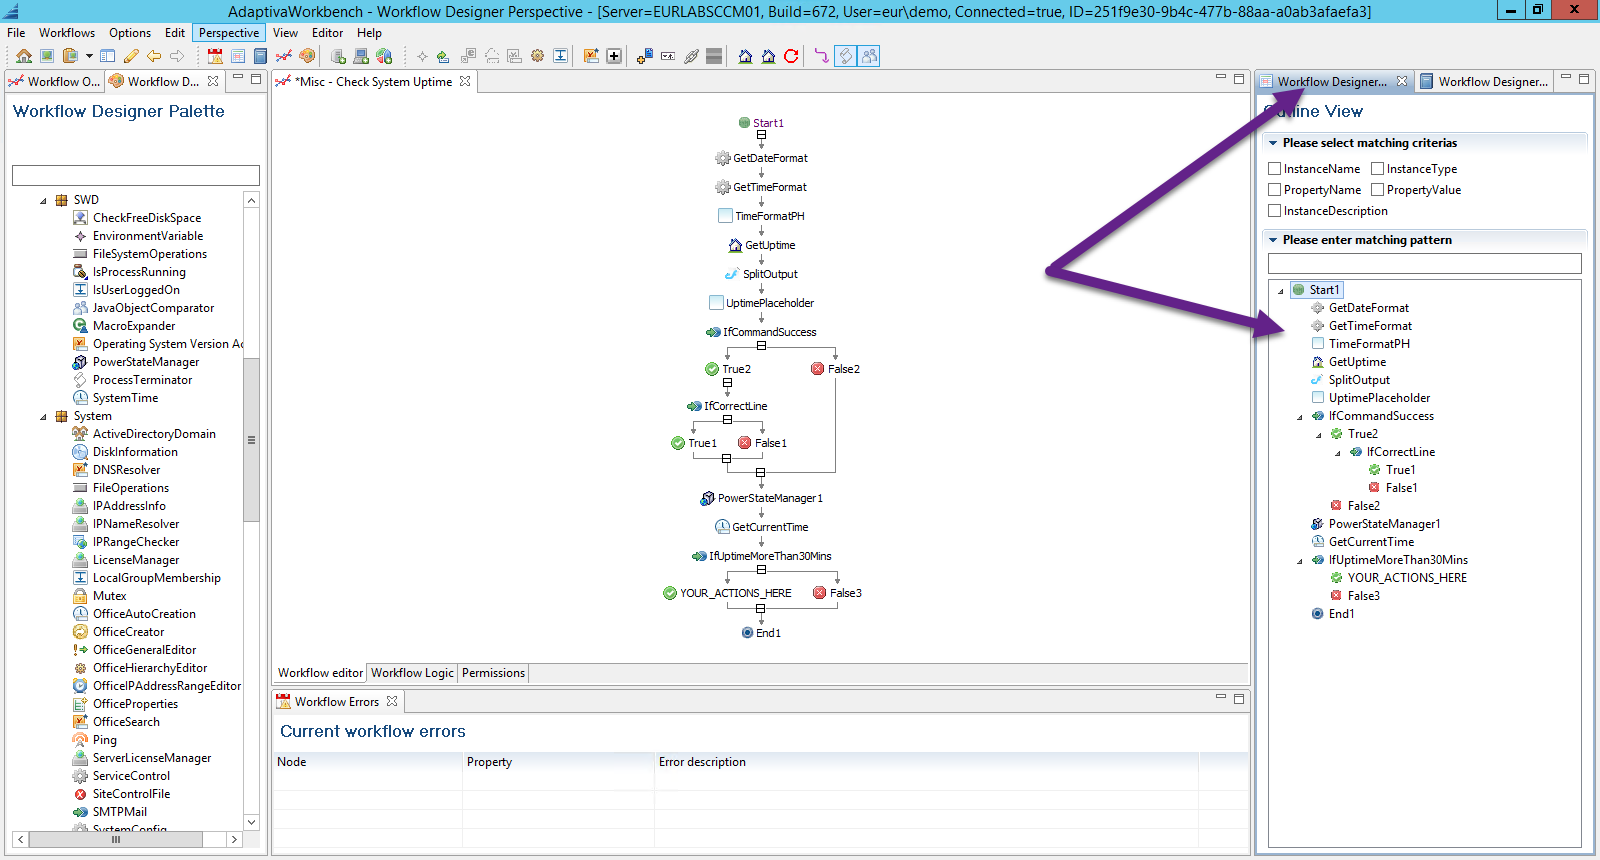
5. The Workflow Designer Outline
The workflow designer outline view gives a tree-representation of the workflow and provides the ability to search the workflow for a specific instance name, type, property name, property value or instance description. This is very useful when trying to find all instances/references of a specific activity or value.
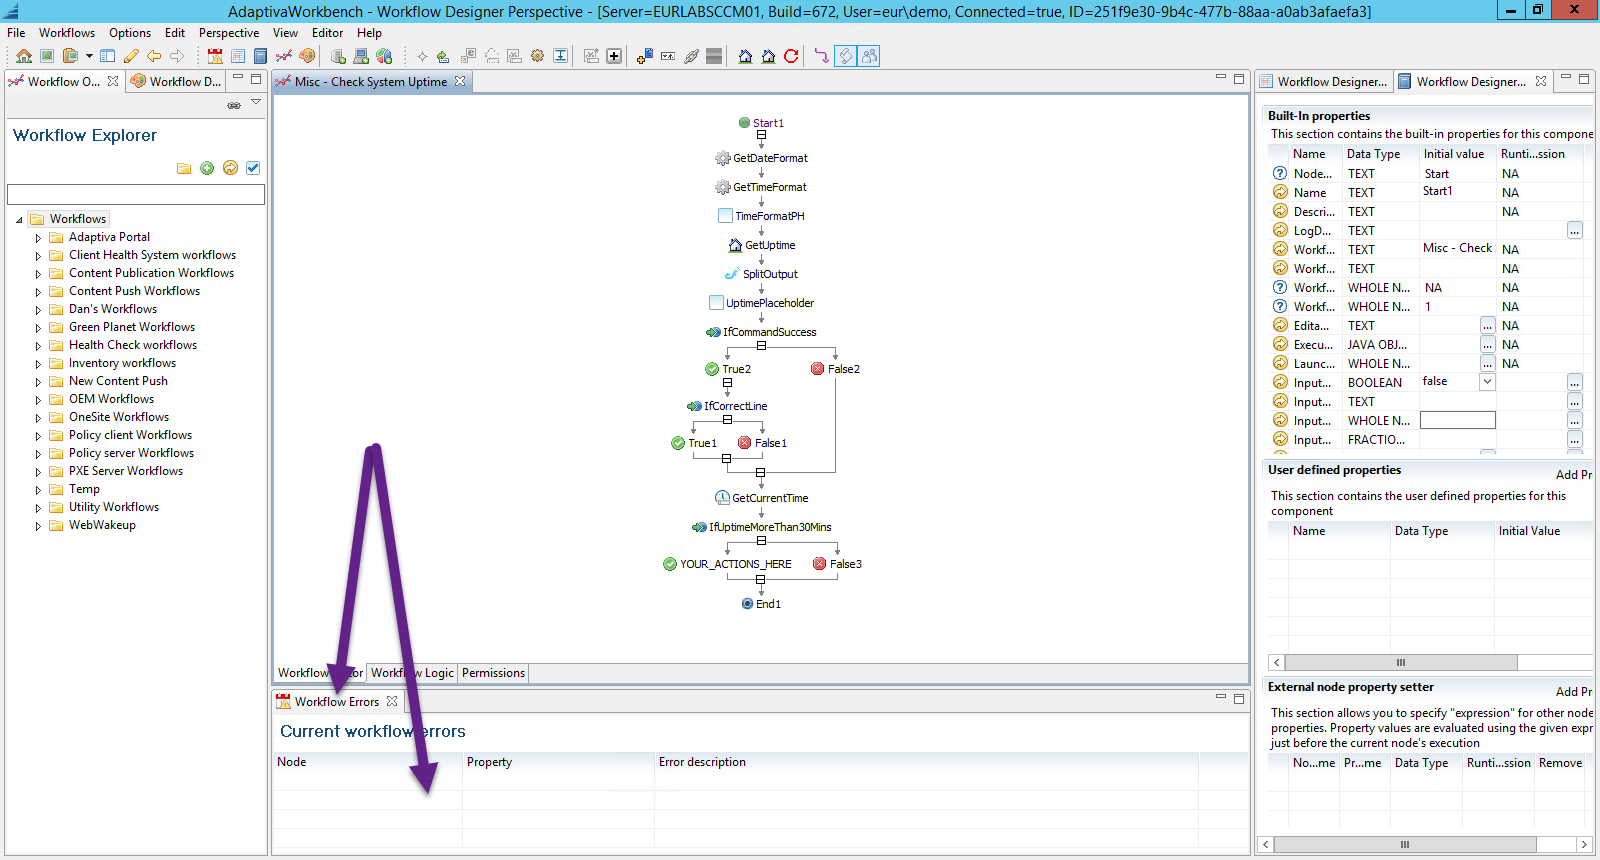
6. The Workflow Errors
The workflow errors panel will show any errors that are present and would prevent deployment of the active workflow. Clicking on an error will navigate to the activity and property where the problem exists. Fixing the error condition will cause the error text to immediately disappear.
Example: When creating a new workflow an error will appear in the workflow errors section until a name is given to the workflow via the Workflow Name property on the Start activity. All workflows require a name before they can be saved or compiled (deployed).
Comments
0 comments
Please sign in to leave a comment.