In this article:
Overview - Basic overview of the user dashboard subscription and alerting system
Defining E-Mail Settings - How to configure the SMTP E-Mail settings
Creating a User Dashboard Subscription - How to author a new user dashboard subscription
Adding a Condition - How to add a condition to the subscription policy
Saving and Running the Subscription - How to save and execute the subscription policy
Further Information - Where to go for further information
Overview
The Adaptiva User Dashboard Subscriptions system provides the ability to subscribe users and groups to specific user dashboards. A user dashboard subscription policy will E-Mail the data within a user dashboard to the subscribed users and groups according to the desired schedule.
In addition, administrators can assign a conditional dataset to the subscription policy so that the dashboard data will only be sent if the condition is met.
User Dashboard Subscriptions are a platform-level component and can therefore be accessed when viewing any Adaptiva product from the left-hand menu. Navigate to Dashboards > Subscriptions.
Defining E-Mail Settings
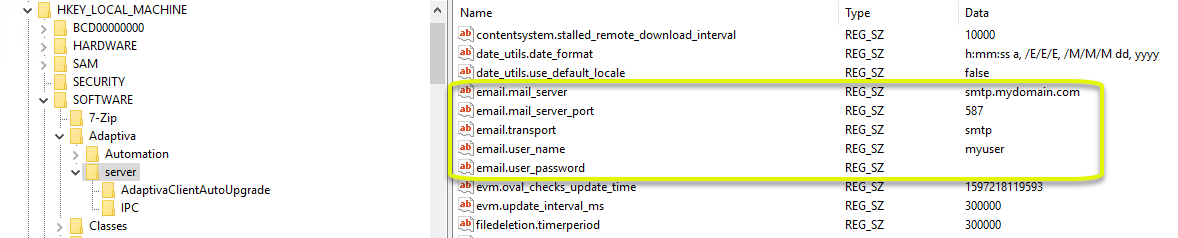
E-Mail settings are defined through the Windows Registry on the Adaptiva Server.
To configure E-Mail settings, browse to the following key:
HKEY_LOCAL_MACHINE\SOFTWARE\Adaptiva\server
Scroll down to the settings that start with "email" and then configure the following values:
- email.mail_server : the name, fqdn, or IP address of the SMTP server to use for outgoing mail
- email.mail_server_port : the port to use for sending SMTP E-Mail
- email.transport : leave as smtp
- email.user_name : the username to authenticate against the SMTP server
- email.user_password : the password for the username to authenticate against the SMTP server
After making a change to any of these settings, please restart the AdaptivaServer Windows service.
Creating a User Dashboard Subscription
To author a new User Dashboard Subscription from the User Dashboard Subscriptions browser, select +New in the top-right corner

To author a new User Dashboard Subscription from within the User Dashboard Subscription editor, select +New in the top-right corner

This will open a new editor window where you can author a new User Dashboard Subscription.
For this example, the subscription is for BIOS information which will E-Mail a daily report on the installed BIOS versions for all devices to a group of users.
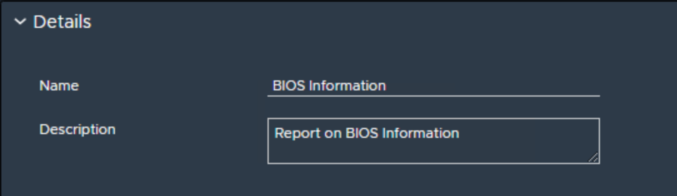
Set the User Dashboard Subscription Details
Start by giving the subscription a Name, and optionally a Description.
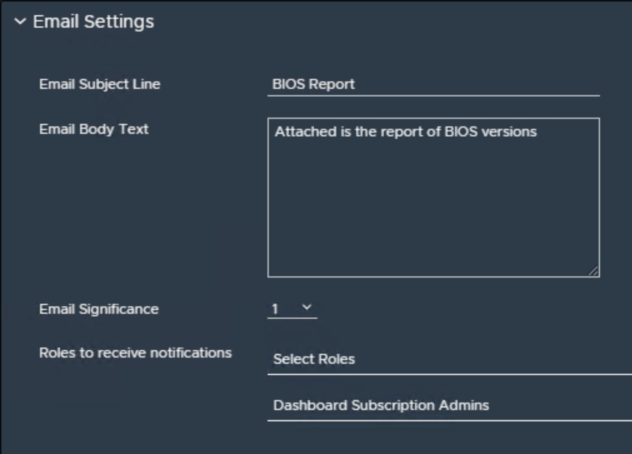
Provide E-Mail Settings
In the E-Mail Settings section, provide an E-Mail Subject Line and E-Mail Body Text that will appear on the E-Mail that gets sent by this subscription.
Choose an E-Mail Significance level between 1 and 5.
In the Roles to receive notification section, browse and select a Role. Alternatively, create a new role and add the appropriate users.
Note: Ensure that the E-Mail Address field for the users in the selected role has been filled in. This is the E-Mail address that the E-Mail will get sent to.
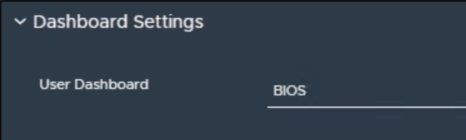
Define Dashboard Settings
In the Dashboard Settings section, select the user dashboard that contains the data you wish to assign to this subscription.
In this example, we are selecting the BIOS dashboard which contains a table of results for BIOS settings.
If the user dashboard selected contains parameters, specify those too.
Set a Schedule
In the Schedule section, select one or more schedules on which you would like this dashboard to be sent.
Note: If a Condition Data Provider is later added, this schedule will be the schedule on which the data provider and dataset get evaluated to determine whether or not to send the E-Mail. If no data provider and dataset are added, then the E-Mail will be sent according to this schedule.
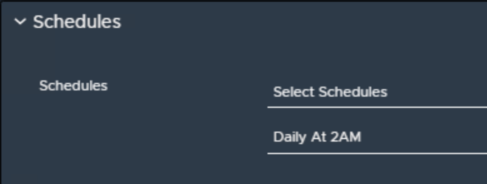
In this example, the subscription E-Mail will be sent at 2am every day.
Adding a Condition
Conditions are optional. By adding a condition, the E-Mail will only get sent if the data provider and dataset for the condition return at least 1 row at the time the schedule executes. If the data provider and dataset do not return any rows, the E-Mail will not get sent.
To add a condition, in the Data Provider for Condition section, choose a Data Provider that contains the dataset with the query that should be run to determine whether or not to send the E-Mail.
For information on how to author a new data provider and dataset, please see this article.
Select the dataset from the list of available datasets for the selected data provider.
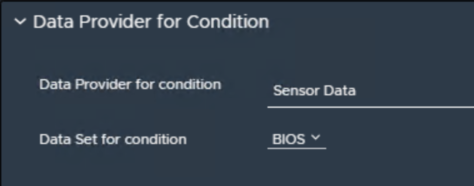
If the dataset has parameters that must be specified, enter those too.
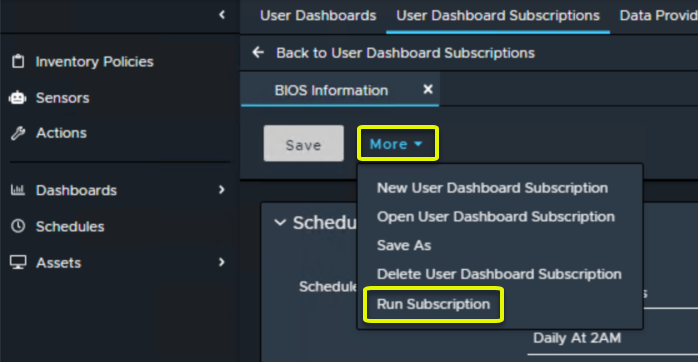
Saving and Running the Subscription
Once all of the information has been added, click Save at the top. The subscription will now execute according to the defined schedules.

To test the subscription, or to execute it immediately, select Run Subscription under More at the top.
Further Information
For further information, please see the other resources in the Technical Reference Library or speak to a member of Adaptiva Support.
If you experience any issues or suspect there is a bug in any part of the user dashboard subscriptions or alerting system, please log a support ticket and a member of the Adaptiva support team will be touch as soon as possible.
Comments
0 comments
Article is closed for comments.